How to Use a UV DTF A/B FILM SET: Lamination Steps, Pressure, and Curing Times
UV DTF A/B film turns printed CMYK+White+Varnish layers into ready-to-apply decals—no heat press, no weeding. This guide walks you through the A→B lamination process, practical pressure targets (with and without a laminator), curing/dwell timing, and quick fixes for bubbles, silvering, or weak adhesion.
What the A/B Films Do (Fast Overview)
- A film: Printable release film. You print CMYK → White → Varnish onto this side. After lamination, it peels away.
- B film: Adhesive carrier. After A→B bonding, the graphic moves to B with the adhesive face ready to apply to your product.
- Key goal: A dust-free, uniform pressure bond between A and B—no heat required.
Pre-Flight: Before You Laminate
- Verify cure: Your printed A film (CMYK/White/Varnish) should be dry-to-touch, non-tacky. If it feels gummy, increase UV dose slightly or clean lamp covers.
- Clean zone: A/B bonding attracts dust. Wipe the table, turn off fans, and keep lint out of the path.
- Tools: Small roll laminator (preferred) or two clean hand rollers + a felt squeegee.
- Supplies: UV inks/varnish, UV DTF A/B Film Set, IPA (70%+), lint-free wipes.
A→B Lamination: Step-by-Step
- Inspect A film: Check for dust, scratches, or under-cured areas (uneven gloss, tackiness). Lightly air-blow if needed.
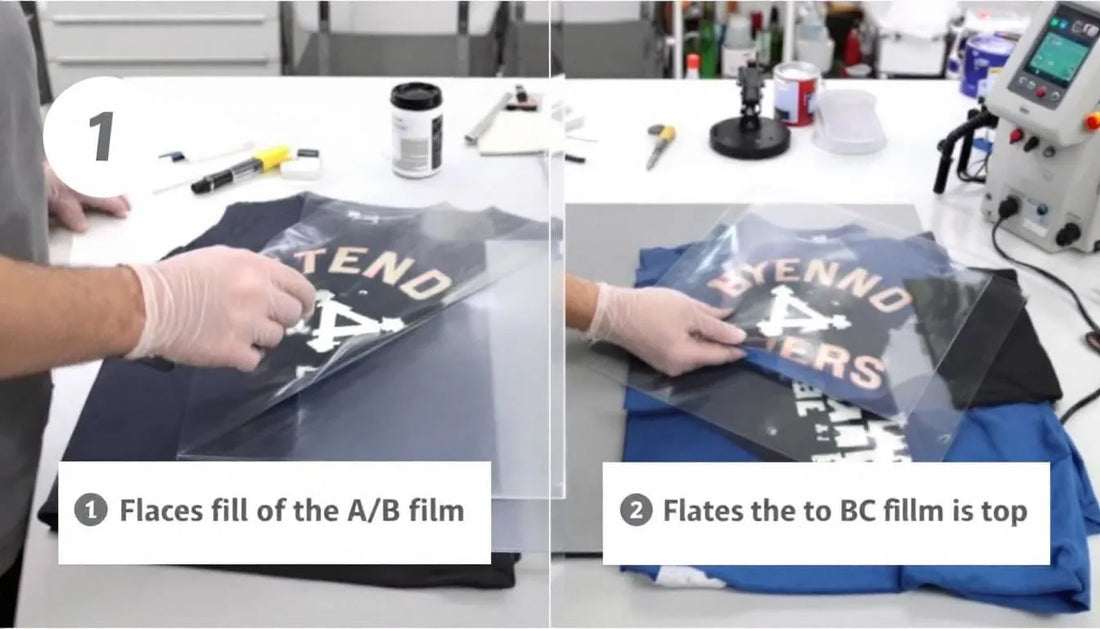
- Align B film: Lay B film adhesive-side down onto the printed image area of A. Create a small hinge on one edge for alignment.
- Bond under pressure: Feed the A/B stack through a laminator or use firm, overlapping passes with hand rollers from center outward.
- Check for silvering: Hold at an angle under light—look for micro-bubbles. If seen, repeat a slow, firm pass to purge air.
- Optional dwell: Let the bonded stack rest flat for 5–10 minutes to stabilize the interface before peeling A or applying.
- Peel A: Lift a corner and remove A in a smooth, shallow-angle motion. The graphic should remain on B.
- Apply to product: Position B on the substrate, burnish firmly (felt squeegee), then peel B slowly to leave the decal in place.
Pressure Targets (Laminator & Hand Tools)
| Method | Settings / Pressure | Speed | Notes |
|---|---|---|---|
| Roll laminator | Nip: Firm/even contact across width; if pneumatic, ~1.0–2.0 bar is a good start | 0.3–0.6 m/min (slow) | Go slower rather than harder; re-pass once if you see silvering |
| Hand rollers | Force: Firm, overlapping strokes (think strong vinyl application pressure) | — | Two orthogonal passes (↔ then ↕) help purge hidden air |
| Final burnish (on product) | Firm squeegee pressure, especially edges | — | Edge-lock matters most; add extra strokes around perimeters |
Curing & Dwell: What Times Actually Matter
- Ink/varnish cure (on A): Done during printing under UV LEDs. Target dry-to-touch layers with uniform gloss—no tack.
- A→B lamination: Pressure-driven. No heat cycle needed. A short 5–10 minute dwell improves bond uniformity for dense or large graphics.
- After application to substrate: Burnish thoroughly. You can do a light post-burnish 10–15 minutes later to lock edges on textured parts.
Common Issues & Fast Fixes
| Symptom | Likely Cause | Fix |
|---|---|---|
| Silvering (micro-bubbles) between A & B | Low nip pressure; fast feed; dust | Slow down; increase pressure slightly; clean table; re-pass once |
| Graphic lifts with A during peel | Under-cured ink/varnish; weak bond; premature peel | Increase UV dose; add 5–10 min dwell; peel at a shallow angle and slower |
| Tacky surface after print | Under-cure | Increase lamp power or reduce carriage speed; clean lamp covers/fans |
| Edge lift on substrate after transfer | Poor burnish; dusty surface | Prep with IPA; re-burnish edges with firm pressure; consider high-tack B for difficult plastics |
| Uneven gloss bands | Inconsistent curing passes | Standardize pass count; verify varnish flood/spot; balance lamp power vs. speed |
Application on Real Products (Quick SOP)
- Prep surface: IPA wipe + lint-free cloth; let dry fully.
- Position: Use a small hinge of tape if alignment is critical.
- Burnish: From center outward with felt squeegee; add extra passes on edges and corners.
- Peel B: Shallow angle, slow and steady. If an edge lifts, pause, re-burnish, continue.
- Final check: Edge rub with a fingernail; if any lift, re-burnish immediately.
Environment & Handling Tips
- Dust control: The #1 enemy of clean bonds. Wipe benches, store films bagged, and use a blower lightly.
- Static: Ionizer bars/anti-static brushes help prevent peppering and silvering.
- Storage: Keep A/B films flat (sheets) or upright (rolls), bagged, away from heat and sunlight.
Quality Checklist (Print This)
- ✔ Printed A film: uniform gloss, non-tacky
- ✔ Work area: dust-free; no fan drafts
- ✔ Lamination pressure: firm and even across width
- ✔ Silvering check: re-pass if any micro-bubbles
- ✔ Optional dwell: 5–10 min before peeling A
- ✔ Application: IPA prep; strong edge burnish; slow peel of B
Recommended Supplies
Bottom Line
Great UV DTF transfers come from three things: fully cured print layers, a clean, pressure-driven A→B bond, and a disciplined burnish on the final surface. Keep the path dust-free, run slow and even pressure during lamination, add a short dwell for complex graphics, and peel at a shallow angle. Do that, and your decals will apply cleanly and stay put.