Advanced Hot Melt Powder Techniques: Shake, Cure, and Wash-Test Protocols
Once your DTF workflow is stable, the fastest path to softer hand feel, cleaner edges, and better wash ratings is tightening control of the powder stage and its downstream effects. This advanced guide covers inline shaker tuning, manual coating techniques, cure profiling, and a practical wash-test protocol so you can prove (and improve) durability with data—not guesswork.
1) Powder “Shake” Mastery (Inline & Manual)
Inline Shaker Tuning (Printer → Powder → Curer)
- Feed speed: Start slow and increase until coverage stays uniform without striping. Small changes (±0.05–0.10 m/min) can eliminate bands.
- Vibration amplitude/frequency: Too low = bald patches; too high = clumping and heavy edges. Increase in small steps; visually inspect a 30–50 cm section under raking light.
- Gate opening: Set just high enough to coat the wet ink but not the bare film. If you see a dusting outside printed areas, close the gate slightly or reduce vibration.
- Powder height in hopper: Keep it mid-level. A nearly empty hopper causes inconsistent flow; an overfilled hopper compacts powder and spikes coat weight.
- Static control: Enable ionizer bars/brushes. RH 45–60% reduces peppering and edge “sugar.”
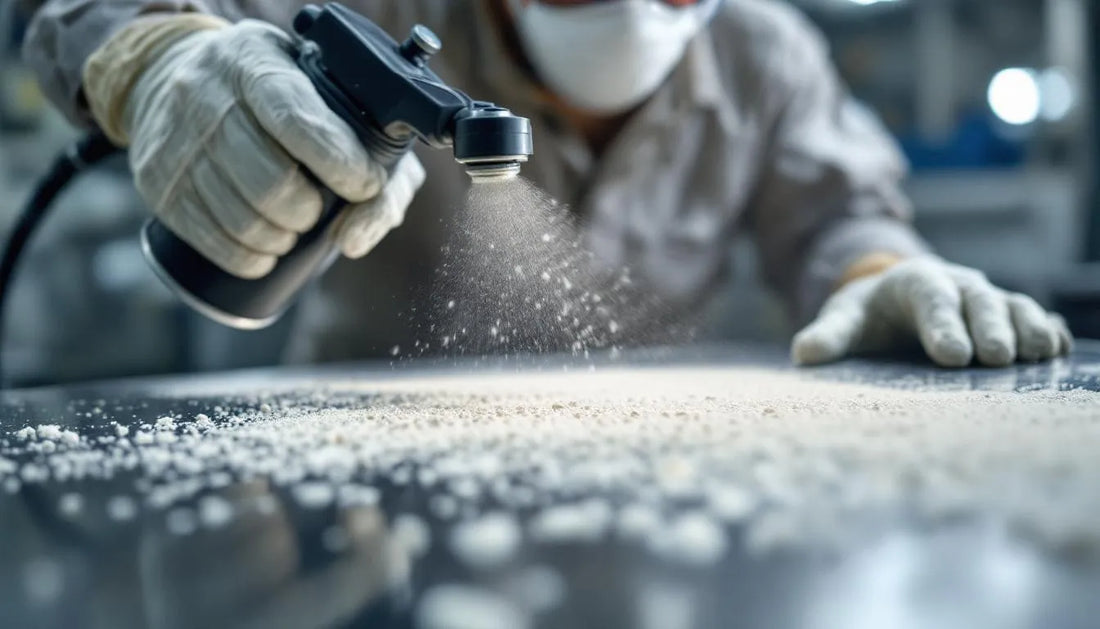
Manual “Snowfall” (Low-Volume or Specialty Jobs)
- Method: Gently cascade powder over the print; tap off all excess by tilting and flicking the sheet edge. Return only clean, dry powder to a sealed container.
- Mesh selection: Use 80–120 mesh for most work (cleaner edges, softer hand). Coarser meshes (60–80) can aid bite on textured fabrics but increase grain.
- Quantify coat weight: Weigh sheet before and after powdering (0.01 g resolution). Chest prints often land at 6–10 g. Record a 3–5-sheet average.
Advanced Metric: g/m² Add-On
Normalize grams/print to area to compare jobs:
- Example chest graphic (~10×12" ≈ 0.077 m²): 6 g → ~78 g/m²; 10 g → ~129 g/m².
- Target consistency: Coefficient of variation (CoV) < 10% across a 5-sheet sample.
2) Cure Profiling (From Crystals to Satin “Orange-Peel”)
What “Right” Looks Like
- Finish: Smooth, satin orange-peel—no visible crystals, no glassy shine.
- Touch: Dry; no smearing; flexible after press with no brittleness.
Inline Oven Calibration
- Map temperature: Use an IR thermometer to measure the film surface at entrance, mid-zone, and exit. Avoid relying only on panel readouts.
- Speed–temp sweep: Hold temperature, vary conveyor speed until the finish turns satin. Then lock speed and fine-tune temperature ±5–10 °C.
- Edge–center uniformity: If edges under-cure (chalky) while center is OK, reduce airflow drafts or add guides to stabilize sheet path.
Starting Window (Tune to Your Film/Powder)
- Film surface: ~110–130 °C
- Dwell (inline): 2–6 min equivalent
- Visual cue: Transition from granular to uniform satin, without yellowing
Powder Chemistry Considerations
- TPU: Tolerates slightly higher temps; great flexibility.
- Co-PES: Lower dwell often works; firmer hand; watch for dye migration on poly—favor lower press temps later.
- Co-PA: Lower activation; ideal for nylon—avoid over-bake (brittle edges).
Common Cure Defects → Fixes
| Defect | Likely Cause | Adjustment |
|---|---|---|
| Crystalline sparkle | Under-cure / low surface temp | Increase dwell or temp; confirm IR surface temp |
| Glassy, brittle feel | Over-cure / excessive temp | Lower temp or increase conveyor speed |
| Edge yellowing | Hot spots / stagnant air | Balance airflow; rotate sheets; lower setpoint slightly |
3) Press Window Synchronization (Because Cure & Press Interact)
- Typical hot-peel films: 150–165 °C, 10–15 s, medium pressure.
- Poly & heat-sensitive blends: 145–155 °C with +2–3 s dwell to minimize dye migration.
- Finish press: 5–10 s with parchment/Teflon to embed and boost wash fastness.
- Pressure uniformity: Use a foam pad over seams/ribs; check for even platen pressure across corners.
4) Powder Handling & Reuse (Consistency First)
- Keep dry: Store sealed with desiccant. Hygroscopic powder clumps and resists flow.
- Sieve recycled powder: If reusing, pass through a mesh screen to remove agglomerates/fibers.
- Batch integrity: Don’t mix different chemistries or mesh sizes mid-job. Label containers by chemistry / mesh / opened date.
5) QC Gates That Catch Issues Early
2-Minute Start-of-Shift Panel
- Print a mini panel (solid, gradient, 2–3 pt text, thin outline).
- Powder and cure with current settings; press on a dark tee.
- Pass if: Satin finish (no crystals), clean edges (no sugar), soft hand, no cracking on light stretch.
Quant Checks
- g/print (or g/m²): Average 3–5 sheets; CoV < 10%.
- IR surface temp: Record mid-zone reading; keep within ±5 °C of your spec.
- Yield: Good transfers ÷ total; target > 97% after stabilization.
6) Wash-Test Protocols (Prove Durability)
Baseline “Home” Test (Weekly)
- Garments: 3 dark cotton tees (or your core fabric). Press standardized chest graphic.
- Launder: Inside-out at 40 °C, mild detergent, normal cycle; air dry.
- Cycles: Evaluate at 1×, 3×, and 5× washes.
- Scoring: Edge lift (0–5%), cracking (none/minor/major), gloss change (none/slight/clear), and color shift (visual or ΔE if you own a meter).
- Pass criteria: No edge lift, no cracks, <slight gloss change, no visible color loss to the eye at 50–60 cm viewing distance.
Accelerated Check (Optional)
- 60 °C wash or 30-min tumble dry (low) after cycle to stress the bond. Use cautiously with poly to avoid dye bleed bias.
- Log results separately from baseline to avoid mixing metrics.
Edge & Tape Tests (Immediate)
- Tape pull: 10–15 min after press, apply tape and pull at 180°. No ink/adhesive transfer.
- Edge rub: Fingernail drag—no flaking or whitening.
7) Troubleshooting Matrix (Powder-Centric)
| Symptom | Primary Angle | Checks | Fix |
|---|---|---|---|
| “Sugary” edges | Mesh/over-powder | Mesh size? g/print high? Static? | Switch to 80–120 mesh; reduce coat; add ionization; RH ~50% |
| Patchy adhesion | Under-cure or bald coating | IR temp low? Gate too tight? | Increase dwell/temp; open gate slightly; slow conveyor |
| Yellowing / stiff feel | Over-cure / hot spots | Edge vs center temp? | Lower setpoint; increase speed; balance airflow |
| Lift after wash (corners) | Press pressure/time | Platen even? Finish press? | Increase pressure; foam pad over seams; finish press 5–10 s |
| Dye migration (poly) | High press temp | Poly vivid colors? Heat history? | Press 145–155 °C longer; select Co-PES powder; test garment |
8) SOP & Data Logging (Make Wins Repeatable)
- One-page cards: Powder chemistry/mesh, gate %, vibration setting, conveyor speed, IR temp range, press window, finish press note.
- Lot traceability: Record powder lot, film type, ink lot, RH/°C each shift.
- Control charts: Track g/print, IR temp, and yield; investigate trends before failures appear.
Recommended Supplies (Consistent & Proven)
- DTF Hot Melt Powder
- DTF Hot Peel Film (24")
- DTF Pigment Ink (CMYK + White)
- DTF Strong Cleaning Solution
Bottom Line
Dial the shake (mesh, gate, vibration, speed), verify the cure with actual surface temperature and satin finish, and prove durability with a weekly wash test. Log grams, temperature, and yields. With these controls, you’ll ship transfers that look cleaner, feel softer, and pass washes with room to spare.
